SVS Bill of Rights
What is the SVS bill of rights?
Buying online can feel like stepping into the great unknown - that's why we stand behind our products with a comprehensive set of policies that make it easy to try, safe to own, and great to be a customer. Visit our Bill Of Rights page for all the details.
The bottom line is that SVS promises you a great ownership experience, and guarantees your 100% satisfaction in our products and services!
Does the SVS Bill of Rights apply to customers who purchase through domestic and international dealers?
While many of our partners have adopted the entire SVS Bill of Rights, our program applies only to sales made directly through SVS Canada. International and domestic SVS dealers are independent businesses, and each has its own unique set of policies or Bill of Rights in any given area.
Ordering with SVS
What currency does SVS use for their online prices?
All prices on our site are in Canadian dollars (CAD).
What credit cards does SVS accept?
We accept Visa, Mastercard, and American Express
Does SVS accept paypal?
Yes, SVS allows payment with PayPal.
Does SVS offer long-term financing options?
Yes, SVS is partnered with a company called Affirm, which offers 12-month, 18-month and 24-month financing options with very competitive rates. The application process is quick and easy and you can find out if you’ve been approved and your specific terms within minutes. There is no obligation to buy, no effect on your credit score and no prepayment penalties if you decide to pay off the purchase early. Check the details and find out your rate on theSVS Financing Page.
Shipping and Delivery
When will my order ship?
SVS product orders usually ship within one business day after the order is placed. Once your order ships, you will receive a shipping confirmation email with a tracking number. If you don’t receive this email, be sure to check your spam/filtered email folder. If you still don’t receive your shipping confirmation, contactSVS Customer Service for tracking updates.
When will my order arrive?
Shipping depends on your location relative to our Ontario distribution facility, but typically will range from 2-5 business days.
Risk Free 45 Day In-Home Audition
How does the SVS 45-day in-home audition work?
SVS offers a 45-day, hassle free, in-home audition with every purchase, which is the longest of any major brand. This will give you plenty of time to fully evaluate your new SVS product in the comfort of your own home - to make sure it’s a perfect fit for your exact system, room and needs.
If for any reason you would like to return your SVS product, please contact SVS Customer Service within the 45-day audition period to arrange for a hassle-free return. We’ll handle all of the paperwork, issue pre-paid return shipping labels and even arrange for pick-up in order to make the return easy and convenient, all at our cost.
Do I have to pay for a return?
SVS will cover return shipping costs, so your SVS audition is 100% risk-free! All we ask is that the SVS product be returned in like-new condition, and in the original packaging to ensure safe transit.
How do I arrange for a return?
If you need to return your SVS product, pleasecontact SVS Customer Service. We will generate a Return Merchandise Authorization (RMA) form, and we’ll also generate a return shipping label. For ground shipments, you can either drop-off the SVS product at the shipping facility, or we can arrange for a pick-up at your home – whichever is more convenient. For palletized freight shipments, we’ll generate the required paper work and arrange for a pick-up at your home.
Warranty on SVS Products
Is my new SVS covered by a warranty?
SVS products are covered by a 5-year unconditional warranty against defects in parts or workmanship. All SVS Prime Wireless products are covered by a 2-Year Unconditional Warranty. These are the strongest and most comprehensive warranties in the consumer electronics industry!
How do i get my SVS product repaired?
Please contact SVS Customer Service to help you troubleshoot and isolate the cause of the problem. If we determine that any parts need to be replaced, this can be done easily by the customer in just a few minutes using normal hand tools. We provide all of the guidance and support needed to make sure the process goes smoothly in order to get your SVS back to optimal performance as soon as possible.
Subwoofer Connection and Placement
What cable do i need to connect my SVS subwoofer to the a/v receiver?
A single RCA cable is needed to connect between the subwoofer output jack on the A/V receiver and the Left or Right line level input on the subwoofer.
SVS offers SoundPath audio interconnects in various lengths, and these work great as a subwoofer cable, and also as a full-range interconnect for CD and DVD players and external amplifiers too.
Make sure to account for horizontal and vertical distances and corners when estimating the length for your subwoofer cable – it’s always better to have a bit of extra than not quite enough.
My svs subwoofer has two (2) line level inputs (left and right), but my a/v receiver only has one (1) subwoofer output jack. Do I need to use a y-adapter and connect to both inputs on the SVS subwoofer?
Since the Left and Right line level inputs are connected and summed internally, A Y adapter is not required, and you may connect the subwoofer cable to either the Left or Right line level input.
I just connected my SVS to the system and i can’t get any sound from the subwoofer. Help!
No sound from the subwoofer could be the result of a few different things. Check the below first before contacting SVS Customer Service.
- Make sure the power cord is fully seated at both ends and that the AC outlet has power.
- Make sure the RCA cable is connected to the subwoofer output jack on the A/V receiver.
- Make sure the RCA cable is fully seated and connection to a line level Input on the subwoofer amp.
- The subwoofer hard power switch is set to On.
- You have held down the Feature Controller knob for several seconds on the Plus and Ultra subwoofers equipped with the 800W and 1000W Sledge platforms.
- You have the volume adjusted to approximately 12 o’clock on the SVS subwoofers which have a rotary volume control.
- You have the Volume set between -15 and 0 dB (the loudest setting) on SVS subwoofers which have a digital volume control.
- In the A/V receiver set-up menu, the front channels are not set to Large/full-band and the subwoofer is shown as on/yes.
If there is still no sound from the subwoofer, please contact SVS Customer Service for more in-depth troubleshooting and assistance.
Does SVS offer a wireless solution for subwoofer connection?
Yes! Our SoundPath Wireless Audio Adapter will provide a wireless connection between the A/V receiver and the subwoofer. It can even handle dual subwoofers if one transmitter and two receivers are used.
Use of the wireless system will increase the subwoofer distance setting in the A/V receiver after auto-set-up is run and this is perfectly normal and expected.
Where is the best location to place my subwoofer in my room?
Generally we recommend placing the subwoofer in the front of the room for best blending with the main speakers and center channel. Start with a corner (which excites all room modes), and only move away from the corner if the bass quality at the listening position is not optimal.
If placement in the front room is not preferred or possible, then we recommend the ‘subwoofer crawl’ technique. Place the subwoofer at/near the main listening position, play a familiar soundtrack with a repeating bass line, and then evaluate the bass quality at each available subwoofer location in the room. Keep your head at/near knee level while listening. Then place the subwoofer in the location which provided the most accurate and balanced sounding bass.
Digital Bass Management
I don’t fully understand the concept of digital bass management and the speaker/subwoofer menu settings in my a/v receiver are confusing. I ran auto-set-up and i’m not sure if my a/v receiver selected the best settings.
Digital bass management can be a confusing subject! A 5.1 or 7.1 soundtrack has several discrete speaker channels, and also a Low Frequency Effects (aka LFE or ‘.1’) channel. The goal of digital bass management is to ensure that all of the bass present in the speaker channels and in the LFE channel is properly managed, so the speakers and subwoofer perform optimally. This generally requires directing the LFE channel to the subwoofer, and also redirecting the bass present in each speaker channel to the subwoofer.
Our Sound Experts at SVS Customer Service can assist you with setting up your subwoofer and running auto-set-up in your A/V receiver. We’ll advise you on the best digital bass management settings for your particular speakers and subwoofer, so the entire system performs optimally and sounds great.
What is the best ‘size’ or ‘crossover frequency’ for my speakers?
The speaker size setting in the A/V receiver can be confusing or misleading, because the speaker size settings are often labeled ‘Large’ or ‘Small’, and in reality these settings often have little to do with the actual physical size of the loudspeaker itself.
A Large setting means that channel will receive a full-range (aka full-band) signal from the A/V receiver and none of the bass present in that channel will be redirected to the subwoofer. With the exception of certain bass-capable tower speakers (refer to the next FAQ below for details), a Large setting for a loudspeaker channel is not recommended since it might overload the speaker and damage the drivers, and it also can consume additional power from the A/V receiver amplifier, thus reducing dynamic headroom.
A Small setting means the bass in that channel will be redirected to the subwoofer below the crossover frequency selected/specified for that channel in the A/V receiver. Again with the possible exception of certain bass-capable tower speakers, a Small setting is recommended since it removes the deep bass requirements from the loudspeaker, and frees up power in the A/V receiver amplifier, thus improving system dynamics.
The best speaker/subwoofer crossover frequency for each speaker channel varies with the bass extension and output capabilities of the specific loudspeaker. Sometimes the auto-set-up system in the AV receiver will select a non-optimal crossover setting for a given loudspeaker channel. The below guideline will allow you to double-check the selected crossover frequency. If you are still unsure you can always contact the Sound Experts at SVS Customer Service for assistance. Our Subwoofer Matching Tool will also provide the recommended speaker/subwoofer crossover frequency for your model speaker.
Typical Recommended Speaker/Subwoofer Crossover Settings:
- Very small or ‘satellite’ loudspeakers: 120-150 Hz.
- Small to mid-size center channels, surrounds and bookshelf loudspeakers: 80-100 Hz.
- Larger center channels, surrounds and bookshelf monitors: 60-80 Hz.
- Tower speakers with smaller (i.e., 4”-6”) woofers: 60 Hz.
- Tower speakers with larger (i.e., 8”-10”) woofers: 40 Hz or Large/Full-Band (refer to the below FAQ for more details on the best settings for bass-capable tower speakers).
I don’t fully understand the concept of digital bass management and the speaker/subwoofer menu settings in my a/v receiver are confusing. I ran auto-set-up and i’m not sure if my a/v receiver selected the best settings.
I have large bass-capable tower speakers with multiple 8” or 10” woofers. What are the best AV receiver bass management settings for this type of speaker?
If the A/V receiver can only assign one (1) global speaker/subwoofer crossover frequency for all speaker channels, then bass-capable tower speakers should always be set to Large (i.e., full-range / full-band). The LFE+Mains (aka Double Bass or Plus) subwoofer option should be avoided with this type of A/V receiver, as it will often result in too much overlap between the mains and the subwoofer.
If the A/V receiver has the capability to assign an individual crossover frequency to each speaker channel, there are three (3) bass management options for bass-capable tower speakers:
- Option 1: Set the mains to Small (i.e., not full-range / full-band) with a 40 Hz speaker/subwoofer crossover. This will allow the tower to play quite deep and takes good advantage of its extension and output capabilities while routing only the deepest front channel bass to the subwoofer. This is an excellent choice for most floor standing speakers, many of which naturally roll-off below 40 Hz.
- Option 2: Set the mains to Large (i.e., full-range / full-band) and the subwoofer mode to LFE. This will send a full-range signal to the tower speakers and will not re-route any front-channel bass to the subwoofer. This option should only be used if the tower speakers are truly full-range with usable extension and output into the mid-low 20 Hz range.
- Option 3: Set the mains to Large (i.e., full-range / full-band), set the subwoofer mode to LFE+Mains, and set the mains 'crossover' (which in this case is actually a low pass filter) to 40 Hz. This bass management option will send a full-range signal to the tower speakers and will also send a duplicate front-channel signal to the subwoofer, but only <40 Hz. This option can be an excellent choice if the tower speakers have usable extension and output into the mid-low 30 Hz range.
Subwoofer Frequency Response Measurements
I want to measure the in-room frequency response of my subwoofer using my radio shack sound level meter as the microphone. I've read on the various av forums that this sound level meter requires 'correction factors' before it can be used as a microphone - what does that mean?
Most sound level meters (including the Radio Shack model) are equipped with two filter settings: A and C. These filters ‘weight’ or bias the response of the SPL meter when measuring sound pressure in various types of environments. For low frequency measurements in the home, the C setting should be used.
Even though the C setting is appropriate for low frequency measurements, starting below about 80 Hz, the SPL reading displayed by the meter is lower than the actual SPL - and this error grows progressively larger at increasingly deeper frequencies. In order to obtain the most accurate data possible during your frequency response measurements, this error needs to be corrected – hence the term ‘correction factors’.
For enthusiasts who want to manually measure the subwoofer frequency response using test tones, SVS offers a spreadsheet which contains the C-weighted correction factors. The reading from the sound level meter is input into the spreadsheet, and it automatically adds the appropriate correction factor for that test tone frequency. When all test tone SPLs have been entered, the spreadsheet automatically plots the subwoofer frequency response. For a free copy of this spreadsheet, please contact SVS Customer Service.
For enthusiasts who are using a software program to measure the subwoofer frequency response, the correction factors need to be entered into the software as a microphone correction file. Some software programs such as Room EQ Wizard already contain a microphone correction file for C-weighted sound level meters.
For software programs which do not contain a pre-loaded C-weighted microphone correction file, the C-weighted correction factors are provided below. Note, these are the theoretical correction factors for the C-weighted filter, but they cannot account for any additional error an individual sound level meter may exhibit due to reasons other than the C-weighted filter. These correction factors are presented in 1/12 octave resolution, which is generally sufficient for plotting the subwoofer frequency response. Note, a negative value means the sound level meter reads lower than actual at that frequency.
SVS Loudspeakers
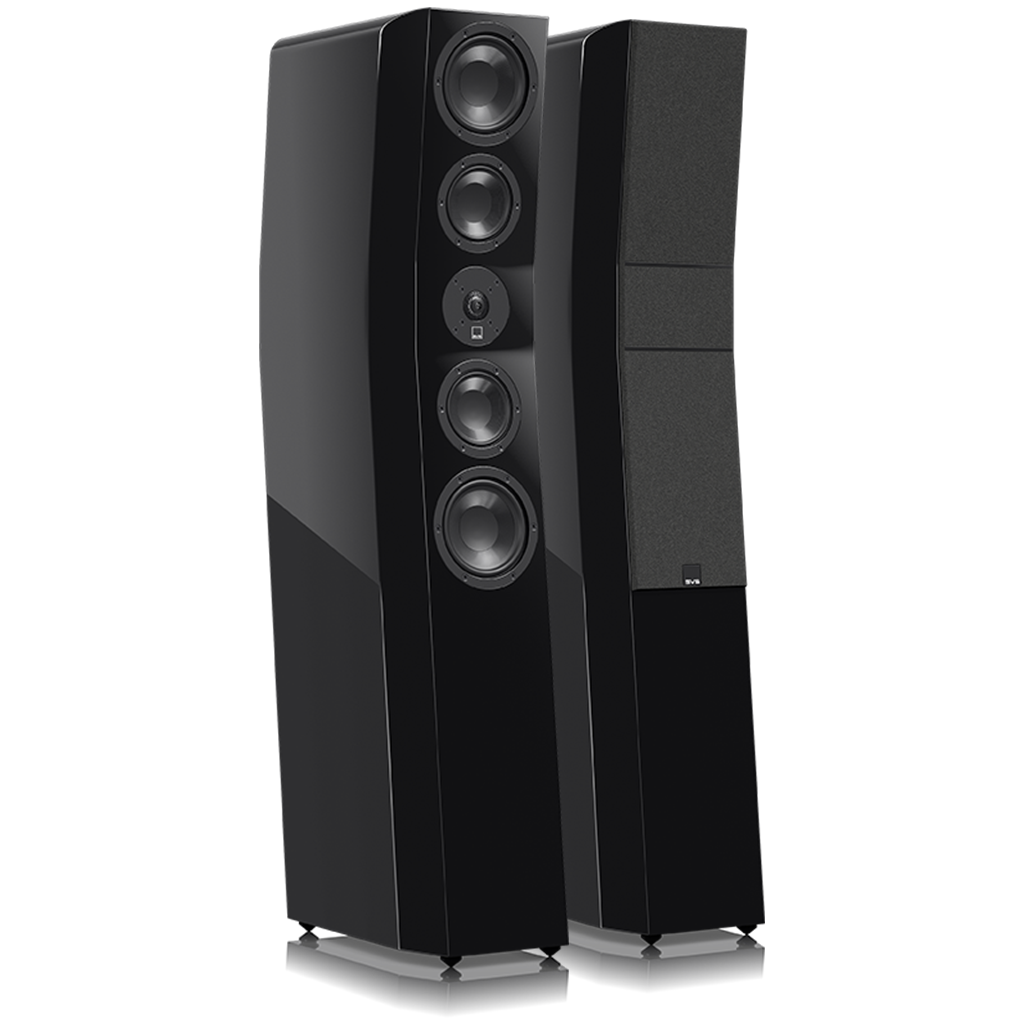
Does the svs ultra tower require a subwoofer?
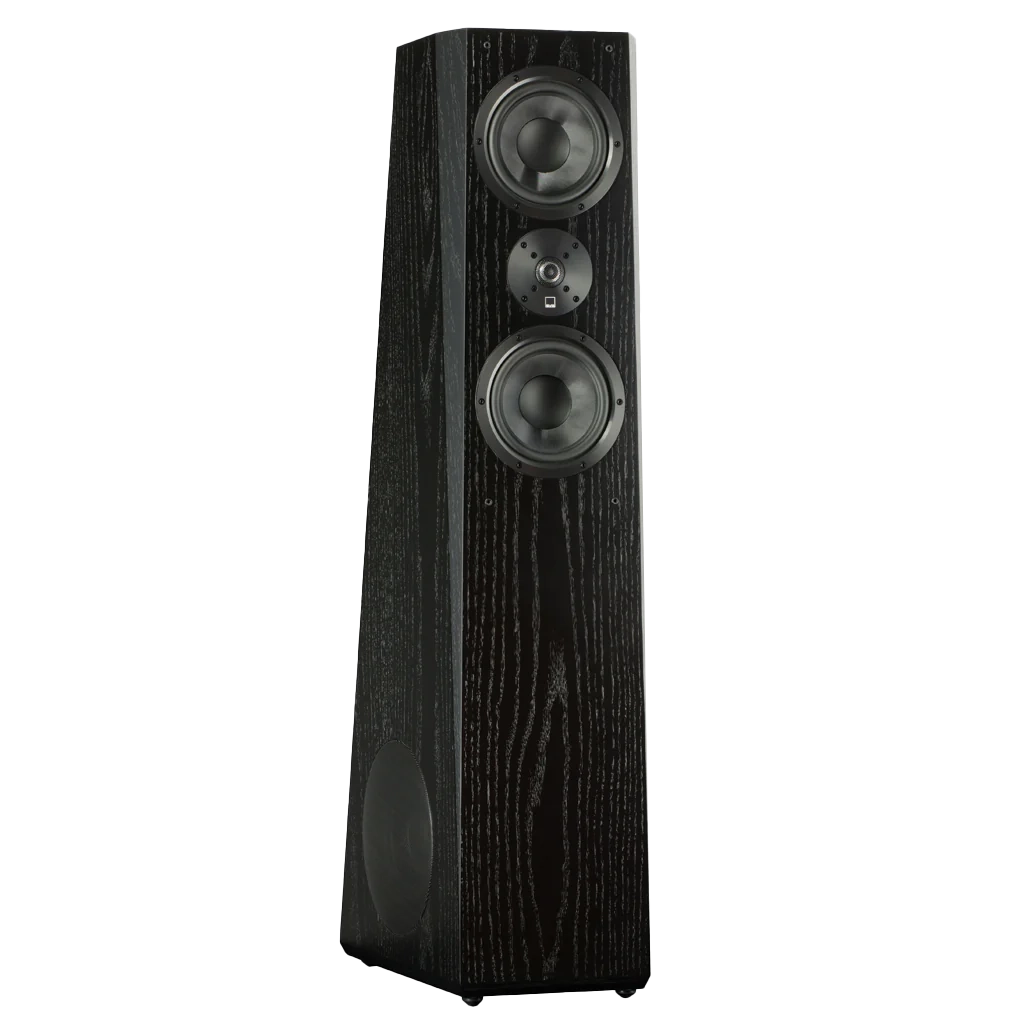
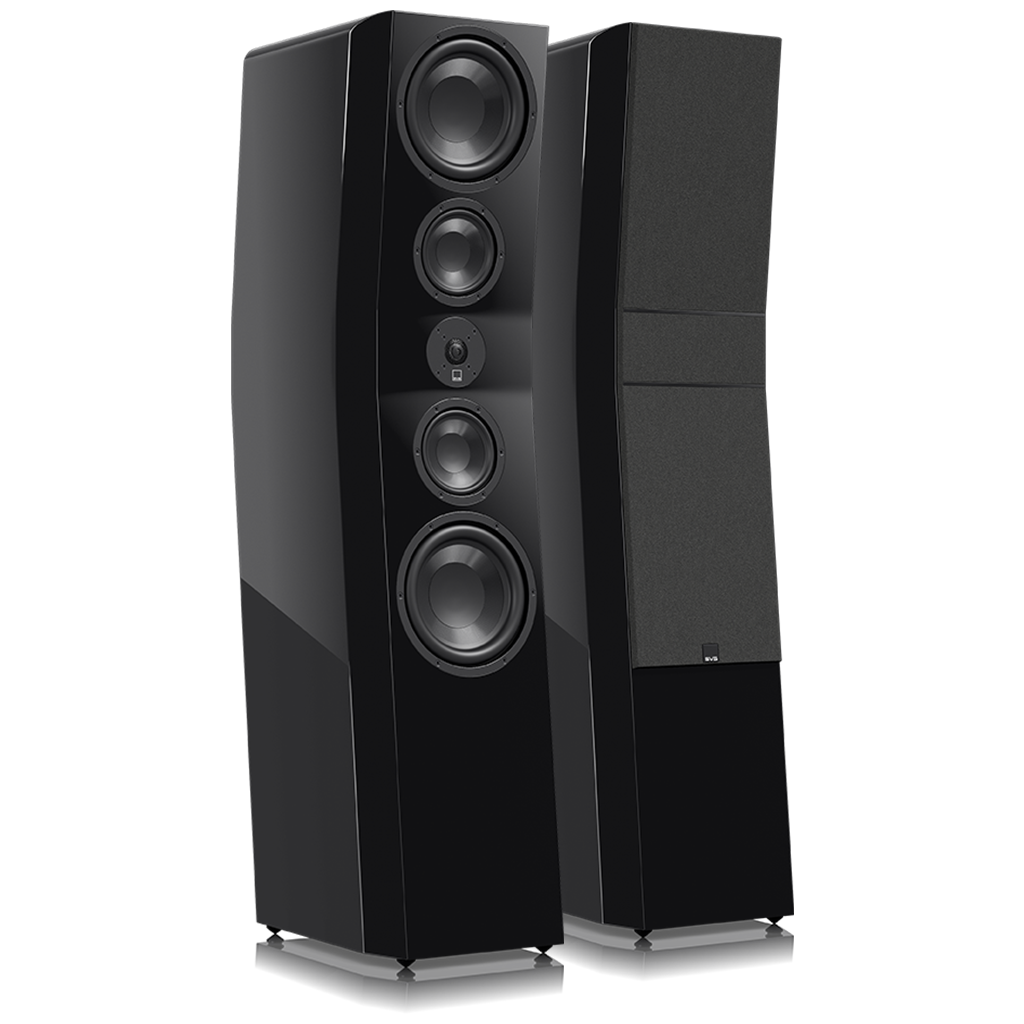
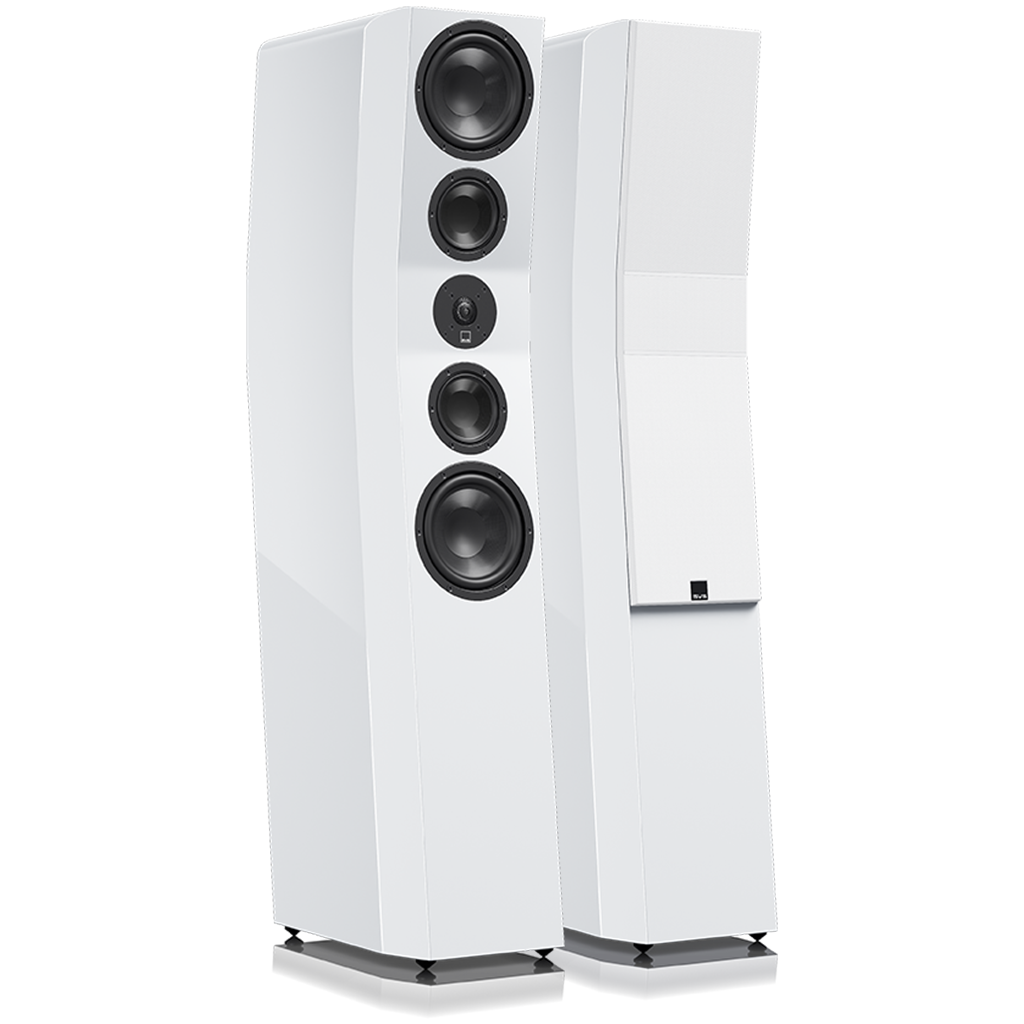
The Ultra Tower is a true full-range loudspeaker with usable deep extension to 28 Hz. With the possible exception of acoustic pipe organ music (which can extend to 16 Hz), the Ultra Tower does not require a subwoofer for 2 channel source material.
In home theater systems using the Ultra Tower, a subwoofer is still recommended to handle the redirected bass from the other speaker channels, and the LFE (.1) channel. Refer to the Digital Bass Management section of our FAQ page for more details..
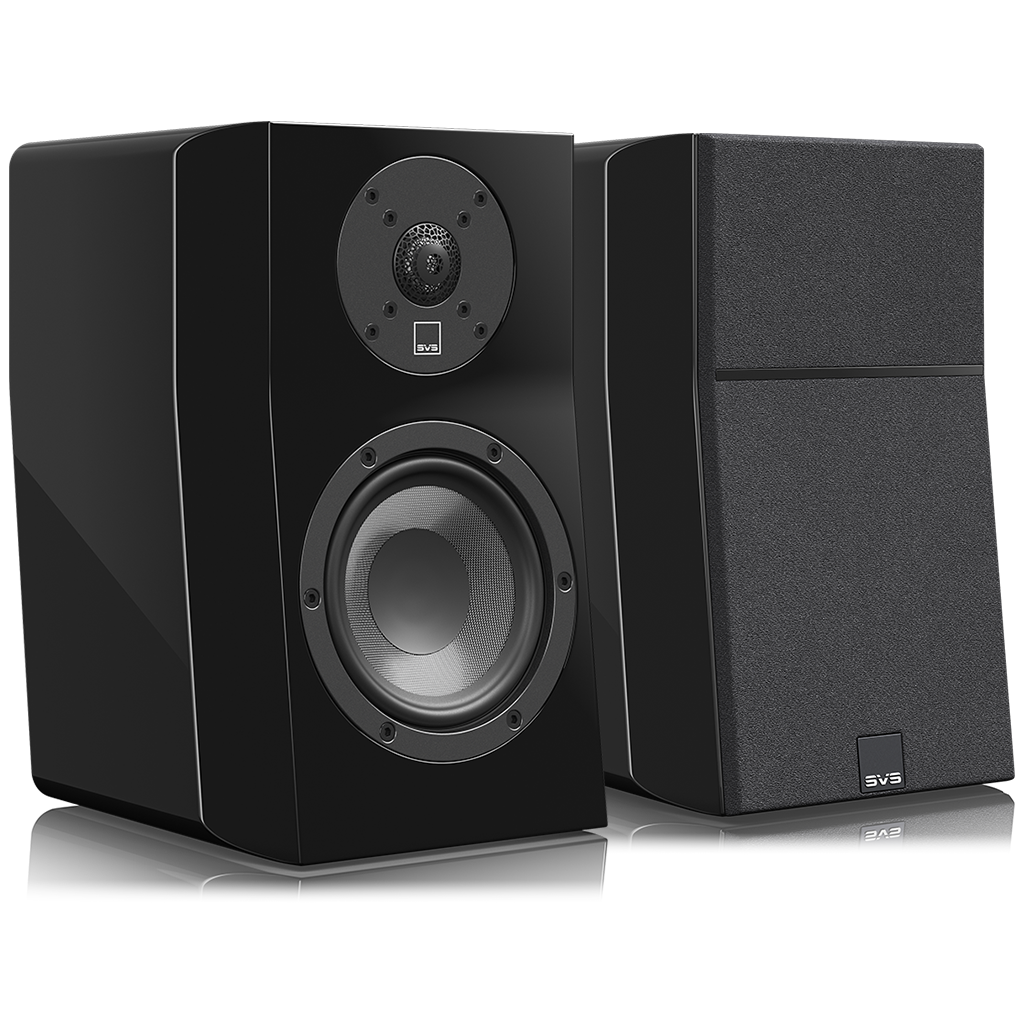
What is the best placement location for the ultra tower or ultra bookshelf speakers?
Proper placement of the front left/right speakers is essential to achieve the smoothest frequency response, optimal stereo imaging and the most spacious, three-dimensional soundstage.
Stereo imaging and soundstage are affected by loudspeaker location and the listening position, relative to each other and room boundaries. Moving the loudspeakers away from room boundaries will tend to improve stereo imaging and spaciousness by attenuating and delaying boundary reflections, thus optimizing direct sound and helping to preserve spatial information in the recording.
SVS recommends starting with the front loudspeakers located 30-degrees to the left and right (i.e., a 60-degree total window) of the listening position. Toeing-in the loudspeakers 5-10 degrees can often improve imaging, however this is also a function of the distance from nearby boundaries and the ratio of direct-to-reflected sound, so experimentation with toe-in is recommended to obtain optimal results.
How close to a corner should i place the ultra tower or ultra bookshelf speakers?
The location of the front loudspeakers relative to nearby boundaries will excite various room modes (a complex pattern of standing waves with associated peaks and nulls), which will affect the bass response of the loudspeakers. Generally, placing the loudspeakers closer to room boundaries (particularly corners) will increase the bass response. Conversely, moving the loudspeakers away from boundaries and corners will reduce the bass response. Due to the complex interaction of the loudspeakers with nearby boundaries/corners and your listening position, significant changes to the bass response can occur with very small changes in either loudspeaker location or listening position, so experimentation with both placement and listening position is recommended to obtain optimal results.
Should i use the included port plugs on the ultra tower?
A smaller tightly-enclosed listening room with a high amount of 'room gain' (a naturally rising low-end response) may cause an excessively strong bass response from the Ultra Tower model, regardless of its placement location in the room. If this occurs, insert the included foam port plugs into the port opening of each Ultra Tower. To obtain a good seal, insert the foam port plug slightly below flush of the port flare.
Inserting the foam port plug creates a low-Q sealed acoustic alignment, and results in an earlier roll-off of the bass response. This will often be a better complement to the acoustics of a smaller tightly-enclosed listening environment, resulting in a more balanced and natural-sounding bass response.
Are acoustic room treatments a good idea?
The amount of exposed glass, drywall and bare flooring in the room will increase the amount of reflected sound and exacerbate problems like slap echo and ringing. Conversely, furnishings like carpeting, drapes and upholstered furniture will reduce the amount of reflected sound in the room.
The ratio of direct-to-reflected sound and the decay characteristics of the listening environment will have a large influence on the ultimate sound quality of any loudspeaker system. Dedicated room treatments like absorbers, diffusers and bass traps can greatly improve the sound quality of any listening environment, and are encouraged to extract the absolute best performance from any high-end loudspeaker system.
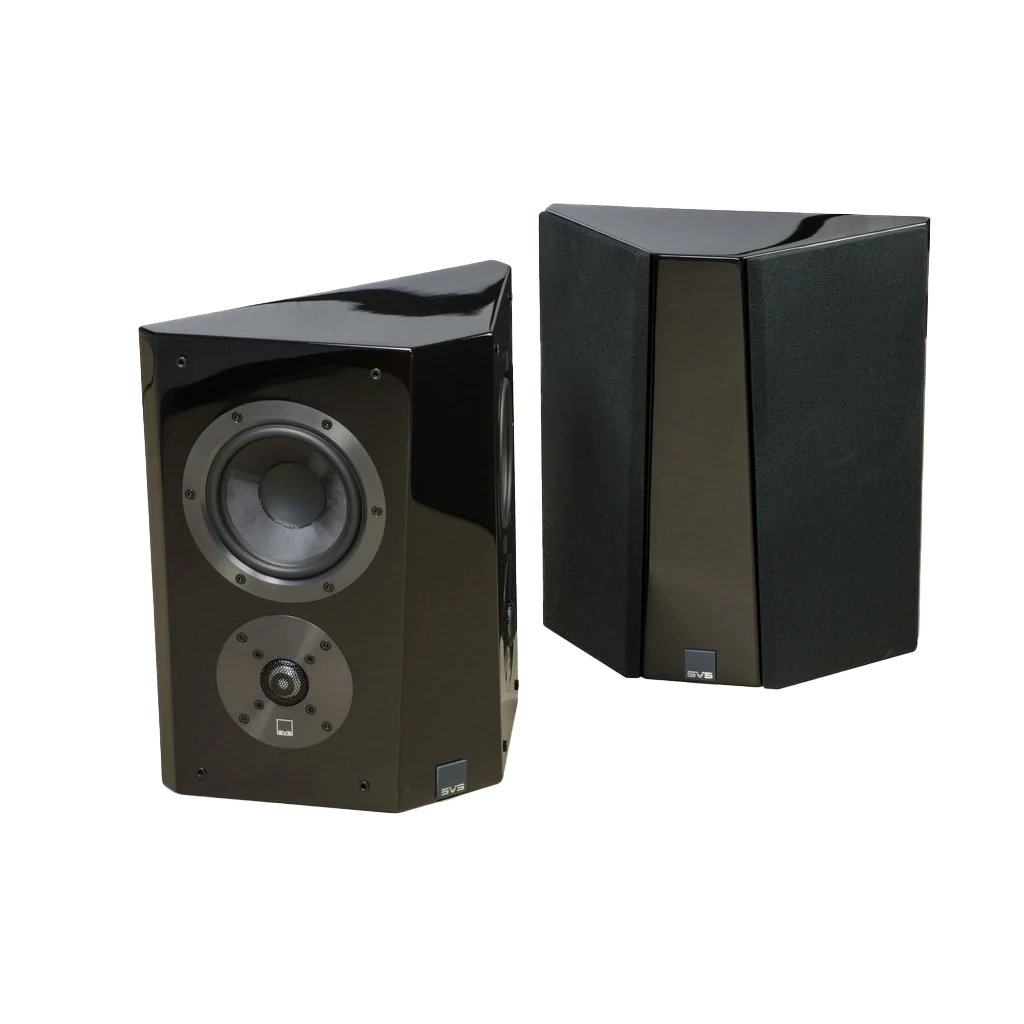
What are the three operating modes on the ultra surround?
For the ultimate in flexibility, the Ultra Surround can operate in three different surround sound modes:
- Duet mode - each set of drivers receives a discrete signal.
- Bipole - both sets of drivers in phase.
- Dipole mode - both sets of drivers out of phase.
Duet mode is a unique configuration which allows a single Ultra Surround speaker to be used as two independent speakers. This means you can use just two (2) Ultra Surround speakers, and still have four (4) discrete side/rear surround channels for a true 7.1 surround setup. Duet mode is recommended for all home theater systems which have a 7.1 A/V receiver and use one (1) pair of surround speakers.
In bipole mode, both sets of speakers are in phase, which provides a more localized and directional surround sound effect. Bipole mode is recommended for home theater systems which have a 7.1 A/V receiver and use separate side surround speakers and rear surround speakers.
In dipole mode, both sets of speakers are out of phase, which provides a more diffuse and non-directional surround sound effect. Dipole mode is recommended for home theater systems which have a legacy 5.1 A/V receiver and use one (1) pair of surround speakers which are mounted directly to the sides of the listening position.
Do i need an external amplifier to power the svs ultra loudspeakers?
The SVS Ultra loudspeakers have excellent sensitivity and are easy to drive with any quality A/V receiver. If the Ultra loudspeakers are being placed in a large listening environment and will be driven to high playback levels, and external amplifier will help avoid amplifier clipping and maintain optimal system dynamics..
Caring for Piano Gloss Finishes
What is the best way to keep my SVS piano gloss speakers and subwoofers looking great?
Below are the best practices for piano gloss maintenance and care:
- Dry dust only with a microfiber duster.
- Never dry wipe the surface, as this will embed surface contaminants into the finish and cause micro-scratches and scuffs.
- If cleaning is required, use a microfiber duster first, and then follow with a lightly damp microfiber cloth. Wipe only in straight, long-strokes in one direction.
- Micro-scratches and scuffs may be gently removed (after dry dusting and damp wiping) with a high-end automotive polish which is rated as safe for clearcoats and is specifically designed to remove micro-scratches. Apply the polish gently, and avoid polishing on edges and corners.
- After polishing, apply an automotive finishing spray to help protect the finish, add shine and also provide anti-static properties to help repel dust.


